No more excuses: A guide to growing potatoes for all situations
11/03/2018 / By Edsel Cook
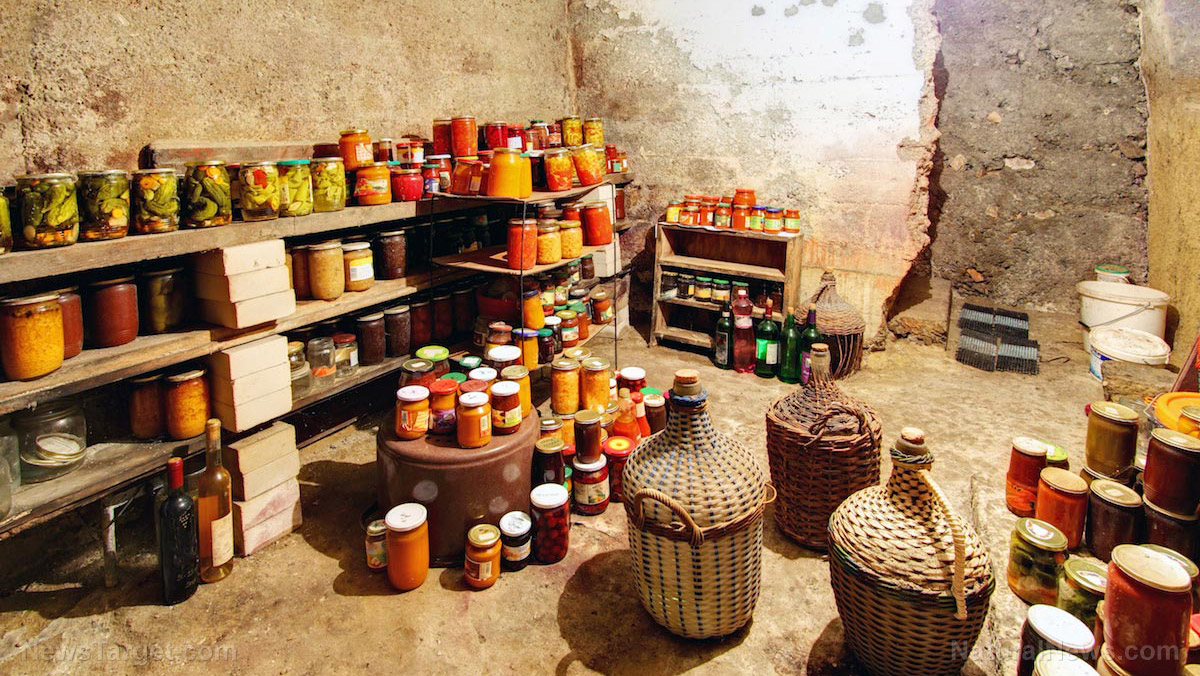
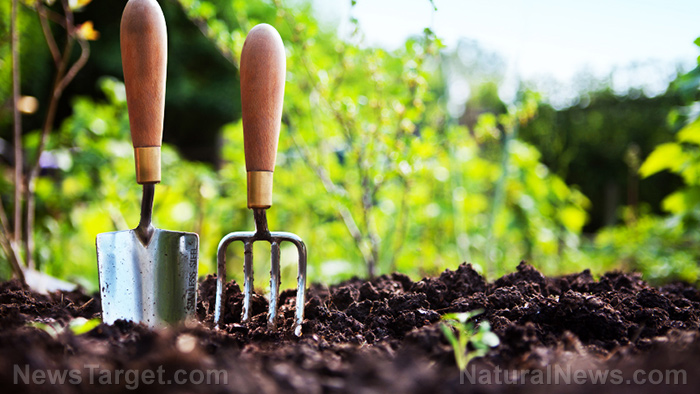
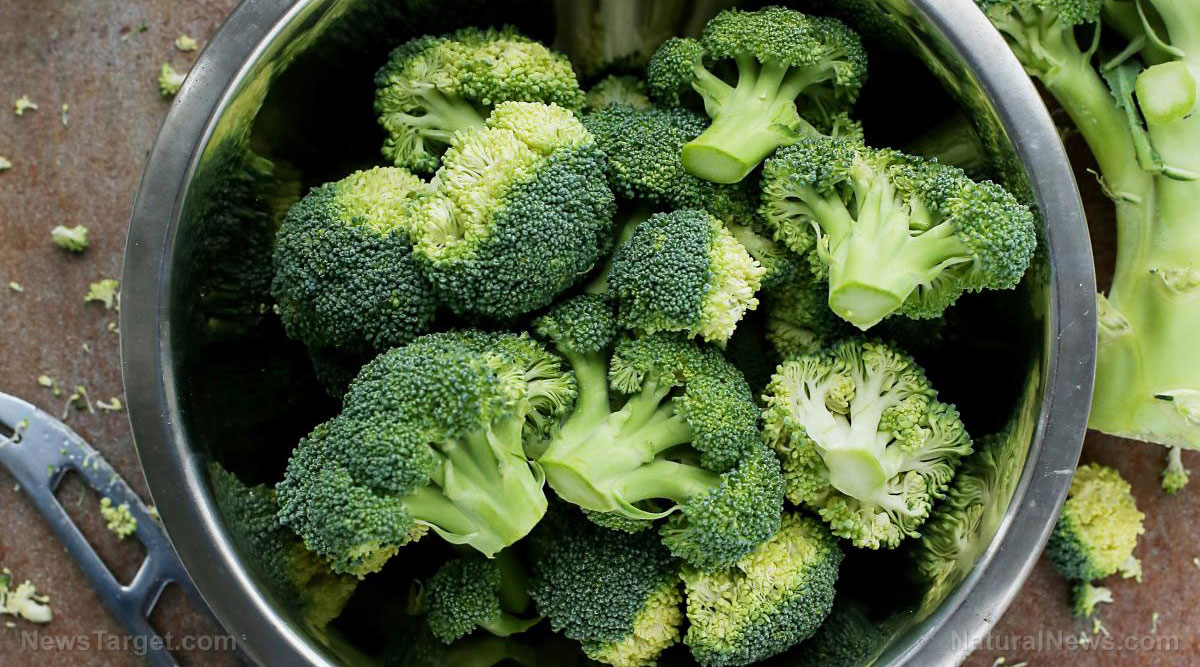
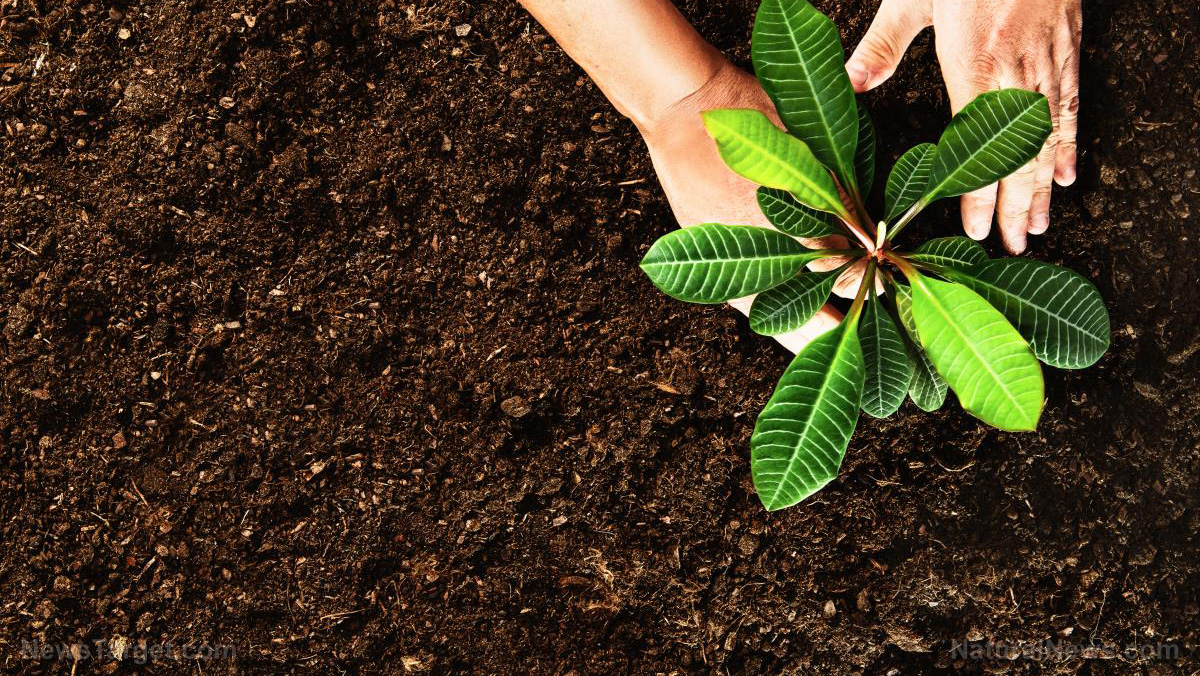
Potatoes are great survival foods. They are easy to acquire, just as easy to grow, last a long time, and provide plenty of nutrients. An article in Bio Prepper tackles the best ways to grow a batch of potatoes for your survival garden or homestead.
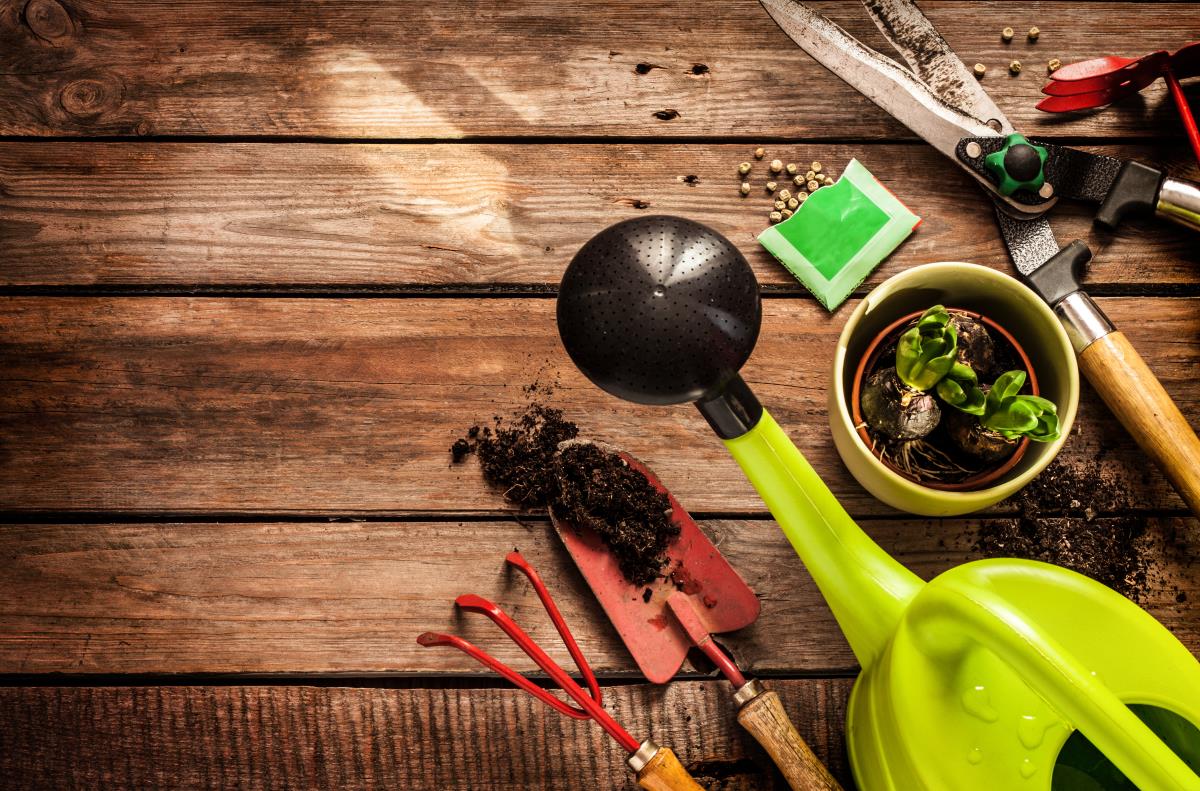
There are four methods to grow potatoes. Each method possesses advantages and disadvantages.
If you have a lot of time and energy on your hands, grow them in straw bales. If your wallet can afford the expense, the container method is for you. If you have the space to do so, the traditional trench technique works well. And if you have little time to spare, go for the scattering method.
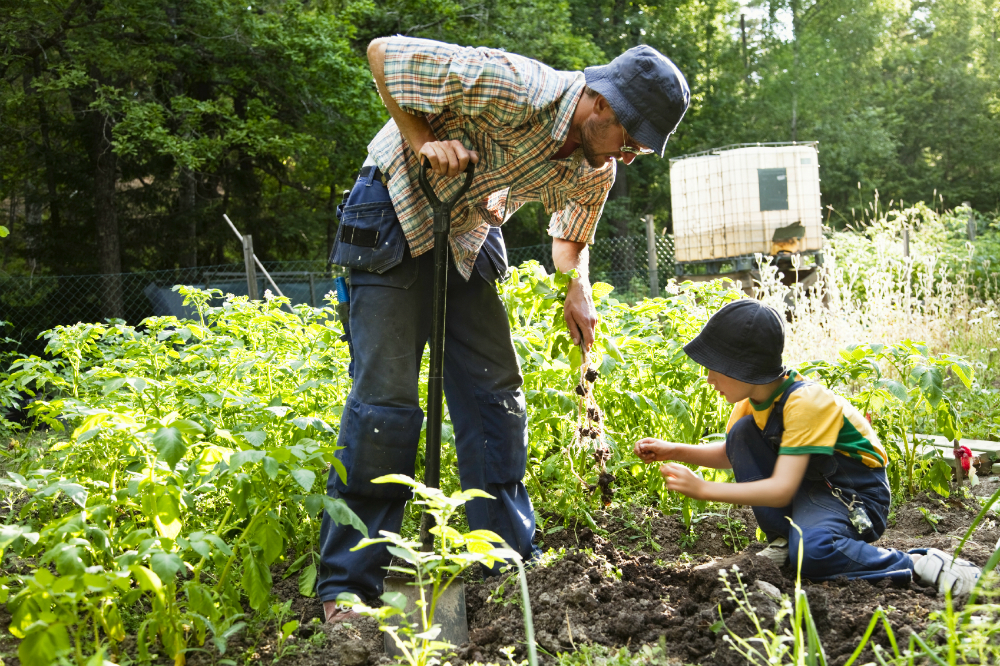
Straw bales make for clean spuds
Get a straw bale for every two or three plants you will grow. Try to get bales that are at least one year old.
Pick locations that receive plenty of sunlight each day. Set down newspaper or weed barriers to keep weeds out.
If your bales are less than a year old, you will have to condition them first. Water them for two weeks. Make sure to keep them constantly damp but not drenched.
On the third day, add nitrogen fertilizer. Keep fertilizing the bale up until the ninth day.
Cut up your potatoes. Make sure each chunk has at least one “eye.” Let them dry for 24 hours before burying them at six inches into the bale. Keep the bales well-watered. Add fertilizer every three weeks if you desire.
The potatoes will be ready to harvest once their plants start to wither and die. Cut the strings and let the bale fall apart. Now you can enjoy your potatoes without having to dig them up. (Related: Want bigger, healthier potatoes? Use straw mulch; it improves soil quality and suppresses weeds.)
Keeping them in containers
People who do not have the luxury of space often grow their potatoes in gardening containers. This method makes it easier to protect the plants from pests and weeds.
Get a container that is clean and well-ventilated. Fill it with potting soil, fertilizer, and hay.
Bury your chopped-up seed potatoes six inches into the soil. Keep the soil moist but not wet; insufficient water causes wilting, but excess water results in mushy potatoes. Add fertilizer as needed.
Add more soil around growing plants in order to cover their stems. Potato tubers grow from the stem; when exposed to light of any sort, they become green and slightly poisonous.
When your plants start dying, the potatoes can be harvested. Unlike taters grown in straw bales, these potatoes will need cleaning.
The tried-and-tested trench technique
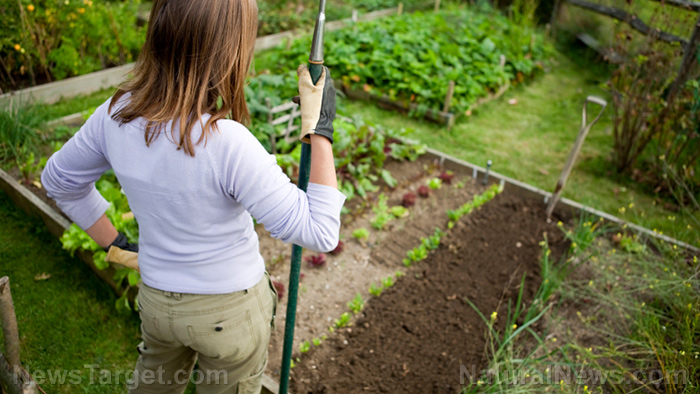
The old-fashioned method of growing potatoes in trenches produces the most fruitful harvest. However, it does require a lot of space, which makes it best for serious gardeners and farmers.
Dig a trench with a depth of six inches. Plant chunks of seed potatoes with their eyes facing upwards. Cover them with several inches of soil.
Tend them as you would container-grown potatoes. Ensure the soil remains moist, make sure to protect the emerging stems and tubers from sunlight by covering them with soil, and add fertilizer as needed.
Scatter, cover with mulch, and let nature do the rest
If you want to enjoy potatoes but cannot afford to get bogged down by the daily chore, you can scatter them across the soil before covering them with mulch. Instead of using soil to cover growing plants, add more mulch.
Be warned that potatoes grown this way are vulnerable to mice, moles, and other pests. But it does show how easy it is to grow potatoes as a food source.
For more tips about growing potatoes, check out Homesteading.news.
Sources include:
Tagged Under: harvesting potatoes, homesteading, how to grow potatoes, how-to, mulch, planting potatoes, potatoes, prepping, survival gardening